Trader User Guide

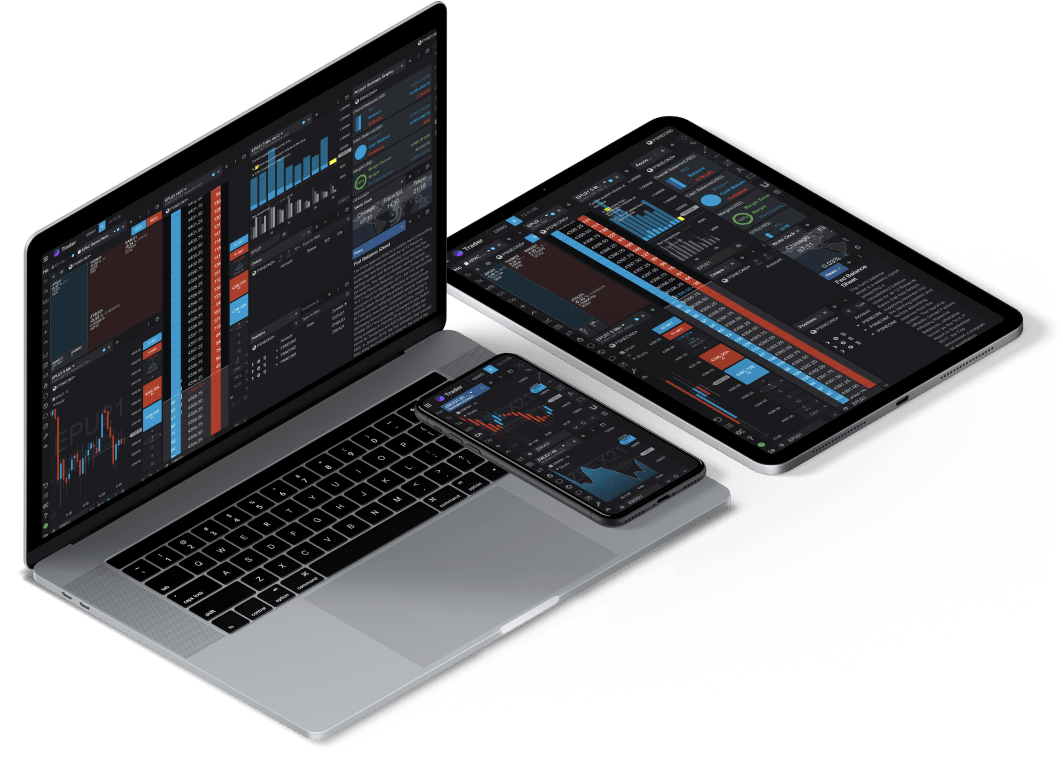
Trader is Marex’s web-based trading application for listed derivative contracts. It includes comprehensive pre-trade risk controls combined with trading, charting and an algorithmic execution suite for 20+ listed exchanges to provide the complete trading experience.

Use Portfolio to monitor your post-trade documents and statements.

Get Started

Expand all

Existing Neon Users

Neon dashboard sign into Trader screen

Contact your Marex account executive or broker to be enabled for Neon Trader.

Once enabled, you can access the application from the Neon Dashboard.

New Neon Users – Existing Marex Clients

Neon sign up screen

If you do not yet have a Neon account, please sign up at app.neon.markets including verifying your email address. Please ensure you register with the email address used for your Marex client account. Shared inboxes (e.g. team@mycompany.com) cannot be used for Neon accounts.


Once you have set up your Neon account, you can request access to Neon Trader on the Neon Dashboard, or contact your broker to enable Trader.


Once enabled, you can access the application from the Neon Dashboard.

New Neon Users – Non-Clients

To use Neon Trader, you need to be a Marex client. Please request a callback to be matched with the relevant team.

Neon Trader Homepage

Expand all

Welcome Layout & Adding a New Page

On first log in, Trader is pre-loaded with a basic template showcasing Market Watch, Charting, Trading Ladder and Orderbook functionality. We recommend that you configure your own layout, using this guide.
Neon Trader log in screen
Neon Trader has a selection of desktop layouts pre-loaded. You can switch between them or add a new blank page.


Options pages can be added via the ‘add page +’ button, you can also embed the options widget into an existing page.


Main Menu

On the left side of the screen, the main menu sidebar allows for new pages, charts, quotes, and other widgets.

Use the first two tabs for your most frequently used features. There's an option to add a new page, under that are all the available widgets for each page.

Add new widgets to your screen by clicking the component in the left-hand sidebar. It will appear as a widget on the screen you are viewing.

Add new pages to create tabulated workspaces for charting, option trading or a new asset class.

At the bottom of the left-hand menu sidebar, you will find the preferences menu, the log off button and a connection health status.

Widgets

Trader pages are comprised of widgets. Add and remove widgets from either the left-hand side menu or the ‘+’ sign in any existing widgets on the page.
Customizing your widgets

Clicking the ‘+’ sign reveals a pop-up menu. Selecting an item from the pop up will insert it into the current page. There is no limit to the number of widgets on a single page. If your current page is full, the new page will be tabulated.

Drag and drop the widgets to build your bespoke layout. Selecting some widgets (such as the Quote Spreadsheet) will produce a secondary menu prompting a selection of contracts.

Customizing Your Widgets

Customize any widget by clicking on it's three dots icon. For quote spreadsheets, launch a trading ticket from the buy and sell buttons.

From the three dots, you can also duplicate the tab, open on a new page, or open in a new window.

Fullscreen

In the upper right corner of any widget, you can toggle to Fullscreen. To restore back to the original size, click the button again.

Linking your Widgets

?

Making trades

Expand all

Trading Ticket

Neon Trader trading ticket screen
A Trading Ticket gives you complete control of your order entry. Switch between a Trading Ticket (Trade) or a Hybrid Order Ticket (HOT) at the top of the pop-up.

Define the Direction, Order Type and Duration from drop down lists.

Use the ‘HOT’ buttons to quickly access the market. Trading Tickets can be embedded in Market Watch as a widget or linked to any screen for quick contract selection.

Market Watch

Neon Trader market watch screen
Market Watch allows you to view and trade multiple contracts across exchanges.

Add additional contracts by clicking the ‘+’ button to start a search. Product information such as contract specification, historical volumes and market activity can be found by clicking on the ‘i’.

Add and remove additional columns by clicking on the three dots in the top right and selecting ‘Manage Columns’.

Right clicking on the Contract Description launches a sub menu for Graphs, Option Trading and Trading Tickets.

Double clicking on Bid (B) or Ask (A) launches a pop-up Trading Ticket color-coded to represent side to place orders into the market. Alternatively, you can click the ‘Buy’ and ‘Sell’ buttons in the top right-hand corner of the Market Watch to place orders.

Order Management

Neon Trader order management screen
Working Orders appear in the order management grid with quick access buttons for modification, cancellation, and holding.

Filled orders are notified via pop up and are visible in the Filled Orders grid.

Account Summary displays P&L, NLV and Balances.

Charts

Neon Trader charts
Launch a chart from the left-hand sidebar.

You will be presented with a selection of chart types including price, technical analysis, and volume.

Charts can be linked to your instrument watch or fixed to a single product.

Charts can be annotated and traded from.

Options Pricing widget

Neon Trader Options Pricing widget
Neon Trader’s Option Pricing widget gives you all the information you need in one compact grid.

Select Expiries from the suggested tabs, view the Market Volume chart and key Market Data.

Launch scrolling Tickers, Time and Sales and Charts per Instrument.

Settings

Expand all

Preferences

Neon Trader preferences menu

The preferences menu allows you to choose 'Interface' customizations and custom 'Trading and symbol settings'.

Both choices are set at account level, so you will see the same settings on any device logged into the same account.